
Maintaining shaped brows between appointments is achievable with consistent, gentle at-home care that respects your natural brow line. Professional brow grooming, the recognized industry term for structured eyebrow upkeep, follows a clear rhythm: expert shaping sets the foundation, and daily home habits preserve it. Professional appointments every 3–4 weeks align with the natural hair growth cycle, but what you do between visits determines how long those results actually last. The right tools, timing, and technique make the difference between brows that hold their shape and ones that slowly lose definition.
How to maintain shaped brows between appointments: timing and frequency
The single most important rule in brow grooming between appointments is knowing when to act and when to leave your brows alone. Most people reach for tweezers too soon, which is exactly how professional shaping gets undone.
The professional appointment schedule
Threading appointments every 3–4 weeks match the pace of natural hair growth. Complete reshaping, where your artist redefines the arch, tail, and head, should happen every 2–3 months. More frequent reshaping risks distorting the shape over time.
The home maintenance window
Light home grooming every 2–3 weeks works well for most people. The goal is to remove only the obvious stray hairs that fall clearly outside your established brow line. Nothing more.
Here is what that schedule looks like in practice:
- Weeks 1–2 after appointment: Leave brows completely alone. Let hairs settle and any redness or sensitivity resolve.
- Week 3: Do a quick check in good lighting. Remove only hairs that sit well outside the brow boundary.
- Week 4: Book your next professional appointment rather than attempting more at home.
Key insight: The gap between appointments is not a problem to fix. It is a window to protect what your artist created.
Respecting this rhythm prevents the most common brow mistake: gradual thinning caused by incremental over-plucking between visits. Each session where you remove “just a few more” hairs compounds over months into sparse, uneven brows that take much longer to recover.
What tools do you need for brow upkeep at home?
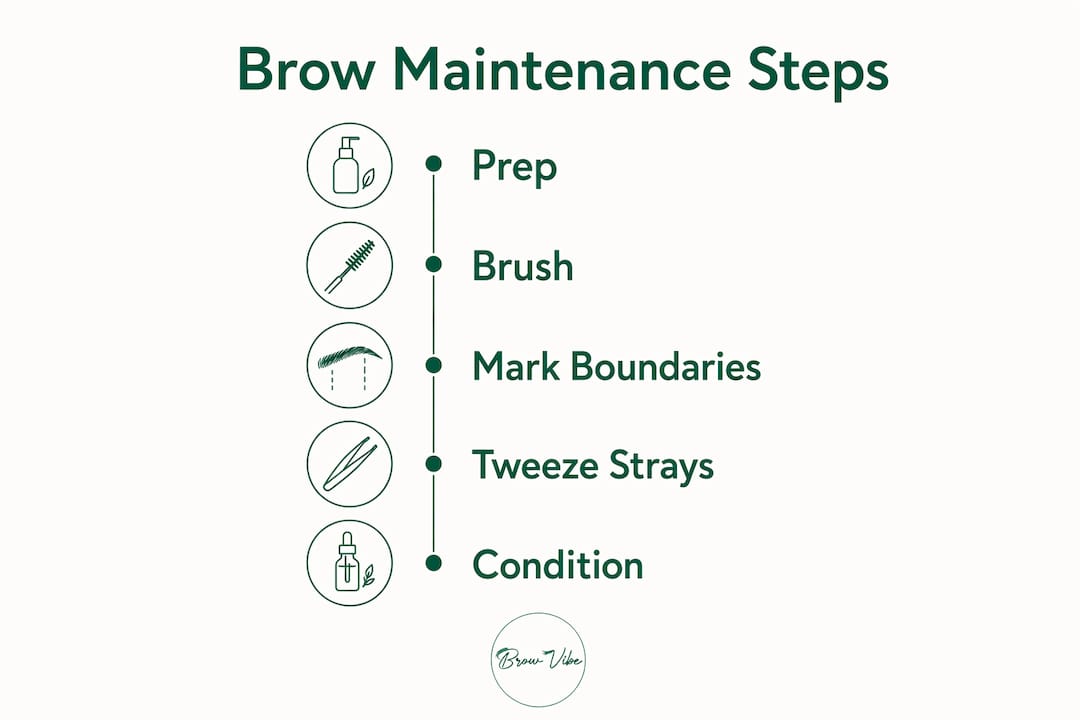
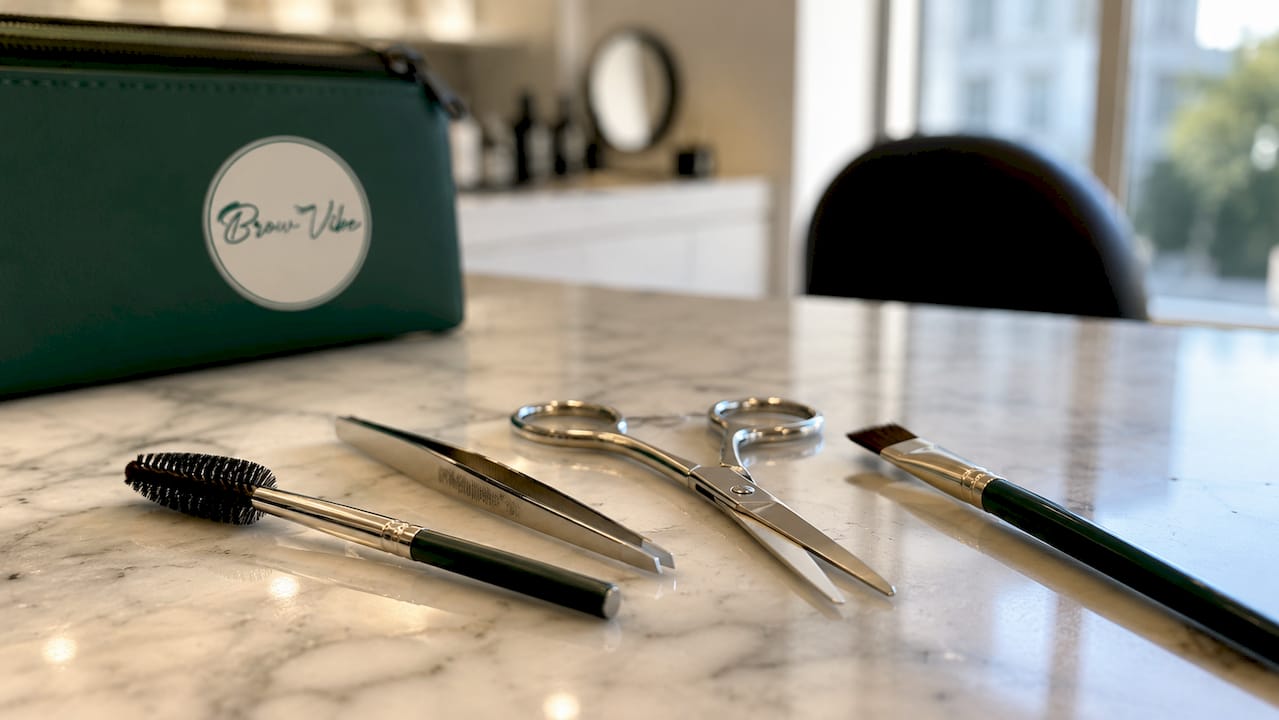
The right tools make home grooming safer and more effective. Using the wrong ones, or skipping key items, is how minor touch-ups turn into shape disasters.
| Tool | Purpose | Key tip |
|---|---|---|
| Spoolie brush | Brushes hairs up to reveal true length and shape | Use before and after every grooming session |
| Slanted tweezers | Grips individual hairs cleanly at the root | Slanted tips give more control than pointed ones |
| Small brow scissors | Trims long hairs without removing them | Cut only the tip, never the full hair |
| Brow mapping pencil | Marks start, arch, and tail reference points | Wipe off after mapping, before grooming |
| Clear or tinted brow gel | Sets hairs in place after grooming | Apply last, after filling |
Beyond tools, two product categories support healthy brows between visits. First, an oil-free cleanser and a gentle exfoliating scrub used for 15 seconds per brow keeps follicles clear and improves how well brow products adhere. Clean skin around the brow area means your pencil or powder lasts longer and applies more evenly.
Second, nourishing oils and growth serums condition the hairs and support follicle health. The application method matters here. Apply serums directly to the skin beneath the hairs with a gentle 15–20 second massage. Coating the hair shafts does nothing for growth. The follicle lives in the skin, and that is where circulation needs stimulation.
Pro Tip: Keep your brow tools in a small dedicated pouch. When everything is in one place, you are less likely to grab whatever is nearby, like nail scissors or a magnifying mirror, which both lead to over-grooming.
Step-by-step guide to grooming eyebrows at home
This process takes about 10 minutes and protects the shape your artist created. Follow each step in order.
-
Cleanse the area. Wash your face or use a gentle cleanser around the brow area. Clean skin shows the true brow line and prevents bacteria from entering any follicles you disturb.
-
Map your brow boundaries. Use a brow mapping pencil or a straight tool like a makeup brush handle. The 3-point mapping technique identifies three reference points: where the brow starts (aligned with the inner corner of your eye), where the arch peaks (aligned with the outer edge of your iris), and where the tail ends (aligned with the outer corner of your eye). Mark these lightly before touching a single hair.
-
Brush hairs upward. Use your spoolie to brush all hairs straight up. This reveals the true length of each hair and shows you which ones are actually long versus which ones just look unruly when flat.
-
Trim long hairs only. With small brow scissors, trim only the tips of hairs that extend noticeably above the natural upper brow line when brushed up. Cut a tiny amount at a time. You can always trim more; you cannot put a hair back.
-
Identify true stray hairs. Look for hairs that sit clearly outside your mapped boundary, below the lower brow line or between the brows. These are the only hairs to remove. Never pluck the upper border or inner head hairs, as these define the core structure of your brow shape.
-
Tweeze with control. Use slanted tweezers to grip each stray hair at the root. Pull in the direction of hair growth with one clean motion. Tweeze one hair at a time, then step back to check the overall shape before continuing.
-
Fill sparse areas lightly. Use a brow pencil or powder to fill any gaps with light, hair-like strokes. Match your natural hair color. Blend with your spoolie after filling to soften any harsh lines.
-
Set with gel. Apply a clear or tinted brow gel to hold everything in place. Brush hairs in their natural direction. This step also keeps trimmed hairs from splaying throughout the day.
Pro Tip: Do your brow grooming in the morning with natural daylight coming from a window in front of you, not overhead. Side-lit natural light shows brow density accurately and reduces the risk of removing more than you intended.
What are the most common brow grooming mistakes at home?
Most at-home brow problems come from a small set of repeatable errors. Knowing them in advance prevents the kind of damage that takes months to correct.
-
Over-plucking the upper border. Clients most often ruin professional shaping by removing hairs from the top of the brow. The upper border defines the brow’s structure. One wrong hair there changes the entire shape.
-
Using harsh bathroom overhead lighting. Overhead lights create shadows that make brows look denser than they are. You end up removing hairs that were actually filling in a gap. Always use balanced, natural light at eye level.
-
Tweezing short stubble. Hairs that are just growing back after threading are too short to grip cleanly. Attempting to tweeze them causes skin irritation and often breaks the hair rather than removing it from the root. Conceal regrowth with a brow pencil instead and wait for the hair to grow long enough to remove properly.
-
Applying growth serums to hair shafts. Serums and nourishing oils only work when they reach the follicle. Brushing product onto the visible hair does nothing for growth. Apply to the skin and massage gently.
-
Using harsh chemical exfoliants near brows. Retinoids, AHAs, and BHAs applied near the brow area can irritate skin, weaken follicles, and contribute to thinning over time. Keep these products away from the brow zone entirely.
The rule that protects your brows: When in doubt, do not tweeze. A stray hair that stays in place for one more week does far less damage than a structural hair removed by mistake. Patience between appointments is a skill, and it produces better brows than any tool.
For anyone rebuilding sparse brows, complete restraint from tweezing during recovery allows hairs to synchronize their growth stages. Trimming long hairs is always preferable to plucking during this phase.
Key takeaways
Keeping brows in shape between appointments requires consistent, minimal intervention: protect the professional shape, use the right tools, and let your natural growth cycle do the work.
| Point | Details |
|---|---|
| Follow the 3–4 week appointment cycle | Book professional threading every 3–4 weeks to stay aligned with natural hair growth. |
| Map before you tweeze | Use the 3-point mapping technique to identify brow boundaries before removing any hair. |
| Never touch the upper border | The upper brow line and inner head hairs define structure; plucking them distorts the professional shape. |
| Apply serums to skin, not hair | Massage growth products into the skin beneath brow hairs for 15–20 seconds to reach the follicle. |
| Use natural light when grooming | Overhead bathroom lighting creates misleading shadows; always groom in balanced, natural daylight. |
Why patience is the real brow maintenance skill
I have seen the same pattern repeat with clients who come in frustrated that their brows “fell apart” between visits. Almost every time, the culprit is not neglect. It is too much intervention at home.
The instinct to fix asymmetry or tidy up a stray hair is understandable. But daily brushing and conditioning produce far better long-term results than sporadic, reactive tweezing sessions. Nourishing treatments take weeks and months of consistent habit to show visible improvement. There is no shortcut that beats showing up every day with a spoolie and a light conditioning oil.
The clients with the best brows between appointments are not the ones doing the most at home. They are the ones doing the least, deliberately. They brush, they condition, they fill lightly, and they leave the shaping to their professional. That restraint compounds over time into brows that look consistently defined, full, and healthy.
My honest advice: treat your brow shape like something borrowed from your last appointment. Your job is to return it in good condition, not improve on it. Major changes belong in the hands of a professional who can see the full picture of your facial structure and brow growth pattern.
— Apna
Browvibe’s professional brow services support your at-home routine
Home maintenance works best when it is built on a strong professional foundation. Browvibe’s certified beauty artists use precision threading and shaping techniques tailored to your facial features and natural brow growth pattern, giving you a clear shape to maintain between visits.
Every Browvibe appointment includes a full consultation so your artist understands exactly what you want and what your brows need. That personalized approach means you leave with a shape that is genuinely yours, not a generic arch. Browvibe’s expert brow grooming guides also give you the knowledge to care for your brows confidently at home, so the results from each visit last as long as possible.
FAQ
How often should I maintain my brows between appointments?
Light home grooming every 2–3 weeks is appropriate for most people. Remove only clear stray hairs outside your established brow line and leave structural hairs untouched.
What is the safest way to tweeze at home without ruining my shape?
Use the 3-point mapping technique to mark your brow boundaries first, then tweeze only hairs that fall clearly outside those points. Never remove hairs from the upper border or inner head of the brow.
Can I use growth serums between brow appointments?
Yes, but apply them to the skin beneath the brow hairs, not to the hair shafts. A gentle 15–20 second massage helps the product reach the follicle where growth actually occurs.
Why do my brows look thinner after I groom them at home?
Overhead bathroom lighting creates shadows that make brows appear denser than they are, leading to over-plucking. Switch to natural daylight at eye level to see your true brow density before removing any hair.
How long does it take to see improvement from brow nourishing treatments?
Consistent daily use of conditioning oils or serums typically requires several weeks to months before visible improvement appears. Daily habit produces better results than occasional intensive treatment.